How to Root the Google Nexus 4.

The Nexus 4, being a smartphone geared towards Android developers, is relatively easy to root; the whole process requires the use of some simple fastboot commands, which even novice users can master relatively quickly. Here’s how to get started.
To root your Nexus 4, you will first need to unlock the handset’s bootloader, which means wiping all of your data. With that being the case, make sure you’ve backed everything up first so that you can transfer it all back to your device when you’re done. Once that’s done, follow the steps below.
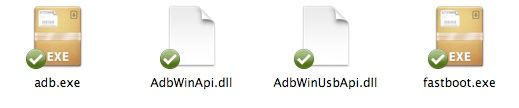
1. You will first need to get hold of ADB and Fastboot, along with the required drivers. If you have the Android SDK installed on your PC, you already have the required ADB/Fastboot files. If not, simply download this zip file (for Mac), which contains everything you need. Also, download the required Fastboot drivers from here and extract the contents inside a new folder named Drivers on your desktop.
Finally, download the latest TWRP custom recovery image file from here, and the SuperSU flashable zip file from here.
2. Extract the contents of the ADB/Fastboot zip files inside a new folder named “android” on your PC. Also transfer the TWRP image file inside this folder and rename it to “twrp” or a name of your choice.
3. If you are using a Windows based PC, open a new command prompt window by typing ‘cmd’ in the Start menu or in the Run dialog box. If you are using a Mac, open up Terminal. You will now need to browse to the ‘android’ folder on your desktop, where you have extracted all the necessary fastboot and ADB files.
By default, the new command prompt window opens up inside the your username folder on Windows. To browse to the android folder on your desktop, simply enter “cd desktop” (without the quote marks) followed by “cd android” in Command prompt. You need to enter the same commands inside a Terminal on your Mac.
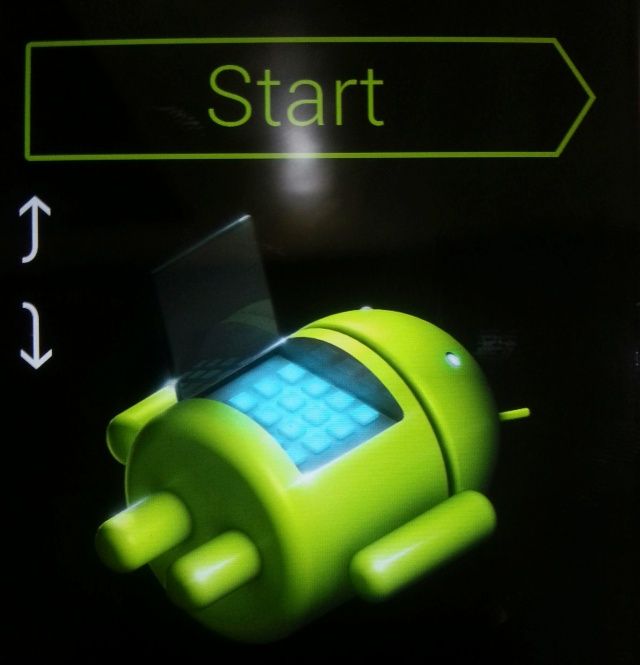
4. Now, switch off your Nexus 4, and then restart it into fastboot mode by pressing the Volume Up + Volume Down + Power buttons simultaneously.
After the phone boots into Fastboot mode, connect it to your PC. If this is the first time you have connected your Nexus 4 in Fastboot mode to your PC, it will search for the required drivers.
You can follow the guide on Google’s Android SDK website on how to install the drivers. When you get to step 8 in this guide, point to the Drivers folder that you created on Step 1, instead of the folder mentioned in the guide. You don’t need to install any drivers if you are using a Mac.
5. To make sure that all the drivers are installed properly, and your Nexus 4 is detected by your PC, enter “fastboot” devices in the command prompt. On a Mac, enter “./fastboot devices”. The fastboot commands for Mac and Windows are exactly the same, but Mac users will need to prefix a ./ before any fastboot command.
If detected, you will see something similar to this on your screen.
![]()
6. Now that the initial setup is done, you just need to enter a few fastboot commands to unlock the bootloader of your Nexus 4 and gain root access to it.
First, you need to unlock the bootloader, which can be done by entering the “fastboot oem unlock” command. A warning will appear on your Nexus 4 to let you know that your are unlocking the bootloader — just accept this.
Once accepted, the bootloader will be unlocked and your phone will restart. You can now disconnect your Nexus 4 from your PC. Keep in mind that the first boot will take some time. When the Nexus 4 starts up, its internal memory will be totally wiped and you will again see the initial setup screen. Proceed to setup your phone once again.
7. Once you are done with the initial setup, connect the Nexus 4 to your PC and transfer the SuperSU flashable zip that you downloaded in Step 1 to the internal memory. Then, switch off your Nexus 4 and put it in fastboot mode again (see step 4).
8. Enter “fastboot flash recovery twrp.img” in the Command prompt or Terminal window that you had opened previously. This will permanently flash a custom recovery on your Nexus 4, which will help you in gaining root access and flash other mods if you ever seem to be interested in them.

9. Once the custom recovery has been flashed, disconnect your Nexus 4 from the PC. Use the Volume button to navigate to the Reboot Recovery option and select it using the Power button. Once TWRP recovery boots on your Nexus 4, select the Install option and then navigate to /sdcard/0. Select the SuperSU zip file that you transferred in Step 7 and flash it. Once the zip file has been flashed, select the Reboot system now option.
You Are Not Anonymous

Copyright © 2010-2024 I am G33K… All rights reserved.
This site is using the Desk Mess Mirrored theme, v2.5, from BuyNowShop.com.